Painted Paper Collage Pattern Process | What's On My Palette
This week in the studio, I kept my focus on ONE project. Yay me. Honestly, that’s an achievement in itself sometimes for us neurodivergent folks.
With summer approaching, mamahood has been feeling extra full lately. Faster, louder, a little more demanding… so my studio practice has needed to balance that by asking less of me. Fewer decisions. Less overthinking. Just… make.
That’s part of why I was so excited to get back to experimenting with my Cricut for pattern design. It lets me move quickly and intuitively, which is exactly what I’ve been needing.
I started with clover, partly because I had a few painted paper collage motifs left over from a recent illustration, but also because it feels like the landscape is shifting right now.
As spring stretches into early summer and the foothills begin to warm up, our yard moves from an ocean of purple violets into a frothy mix of white and green as the clover takes over.
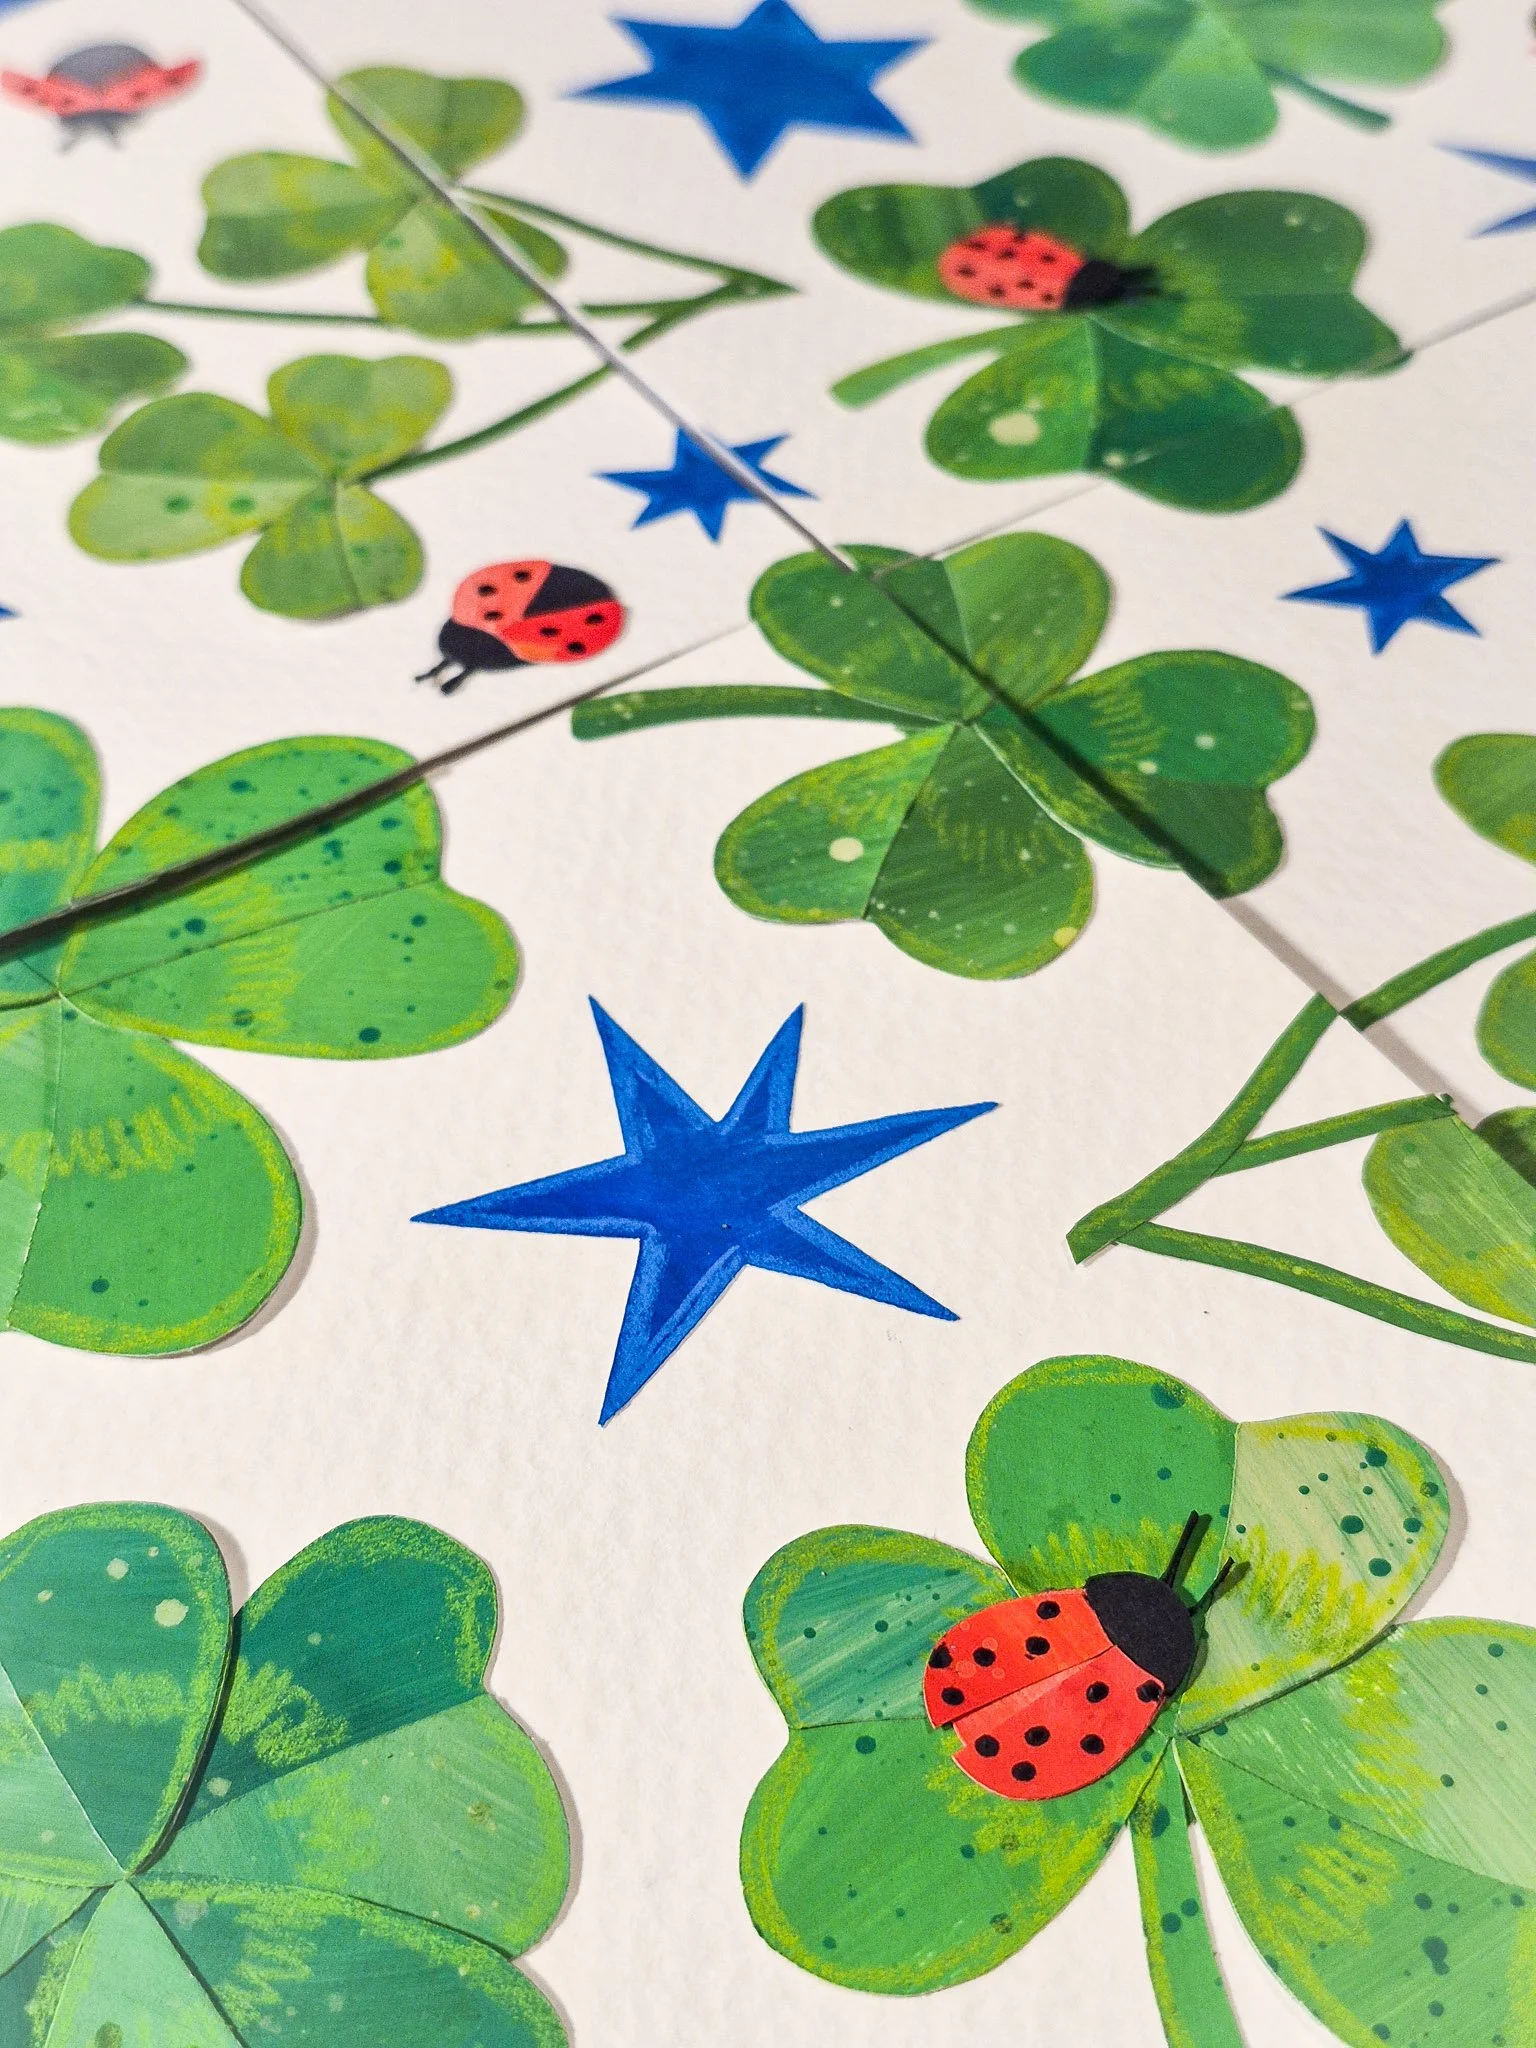
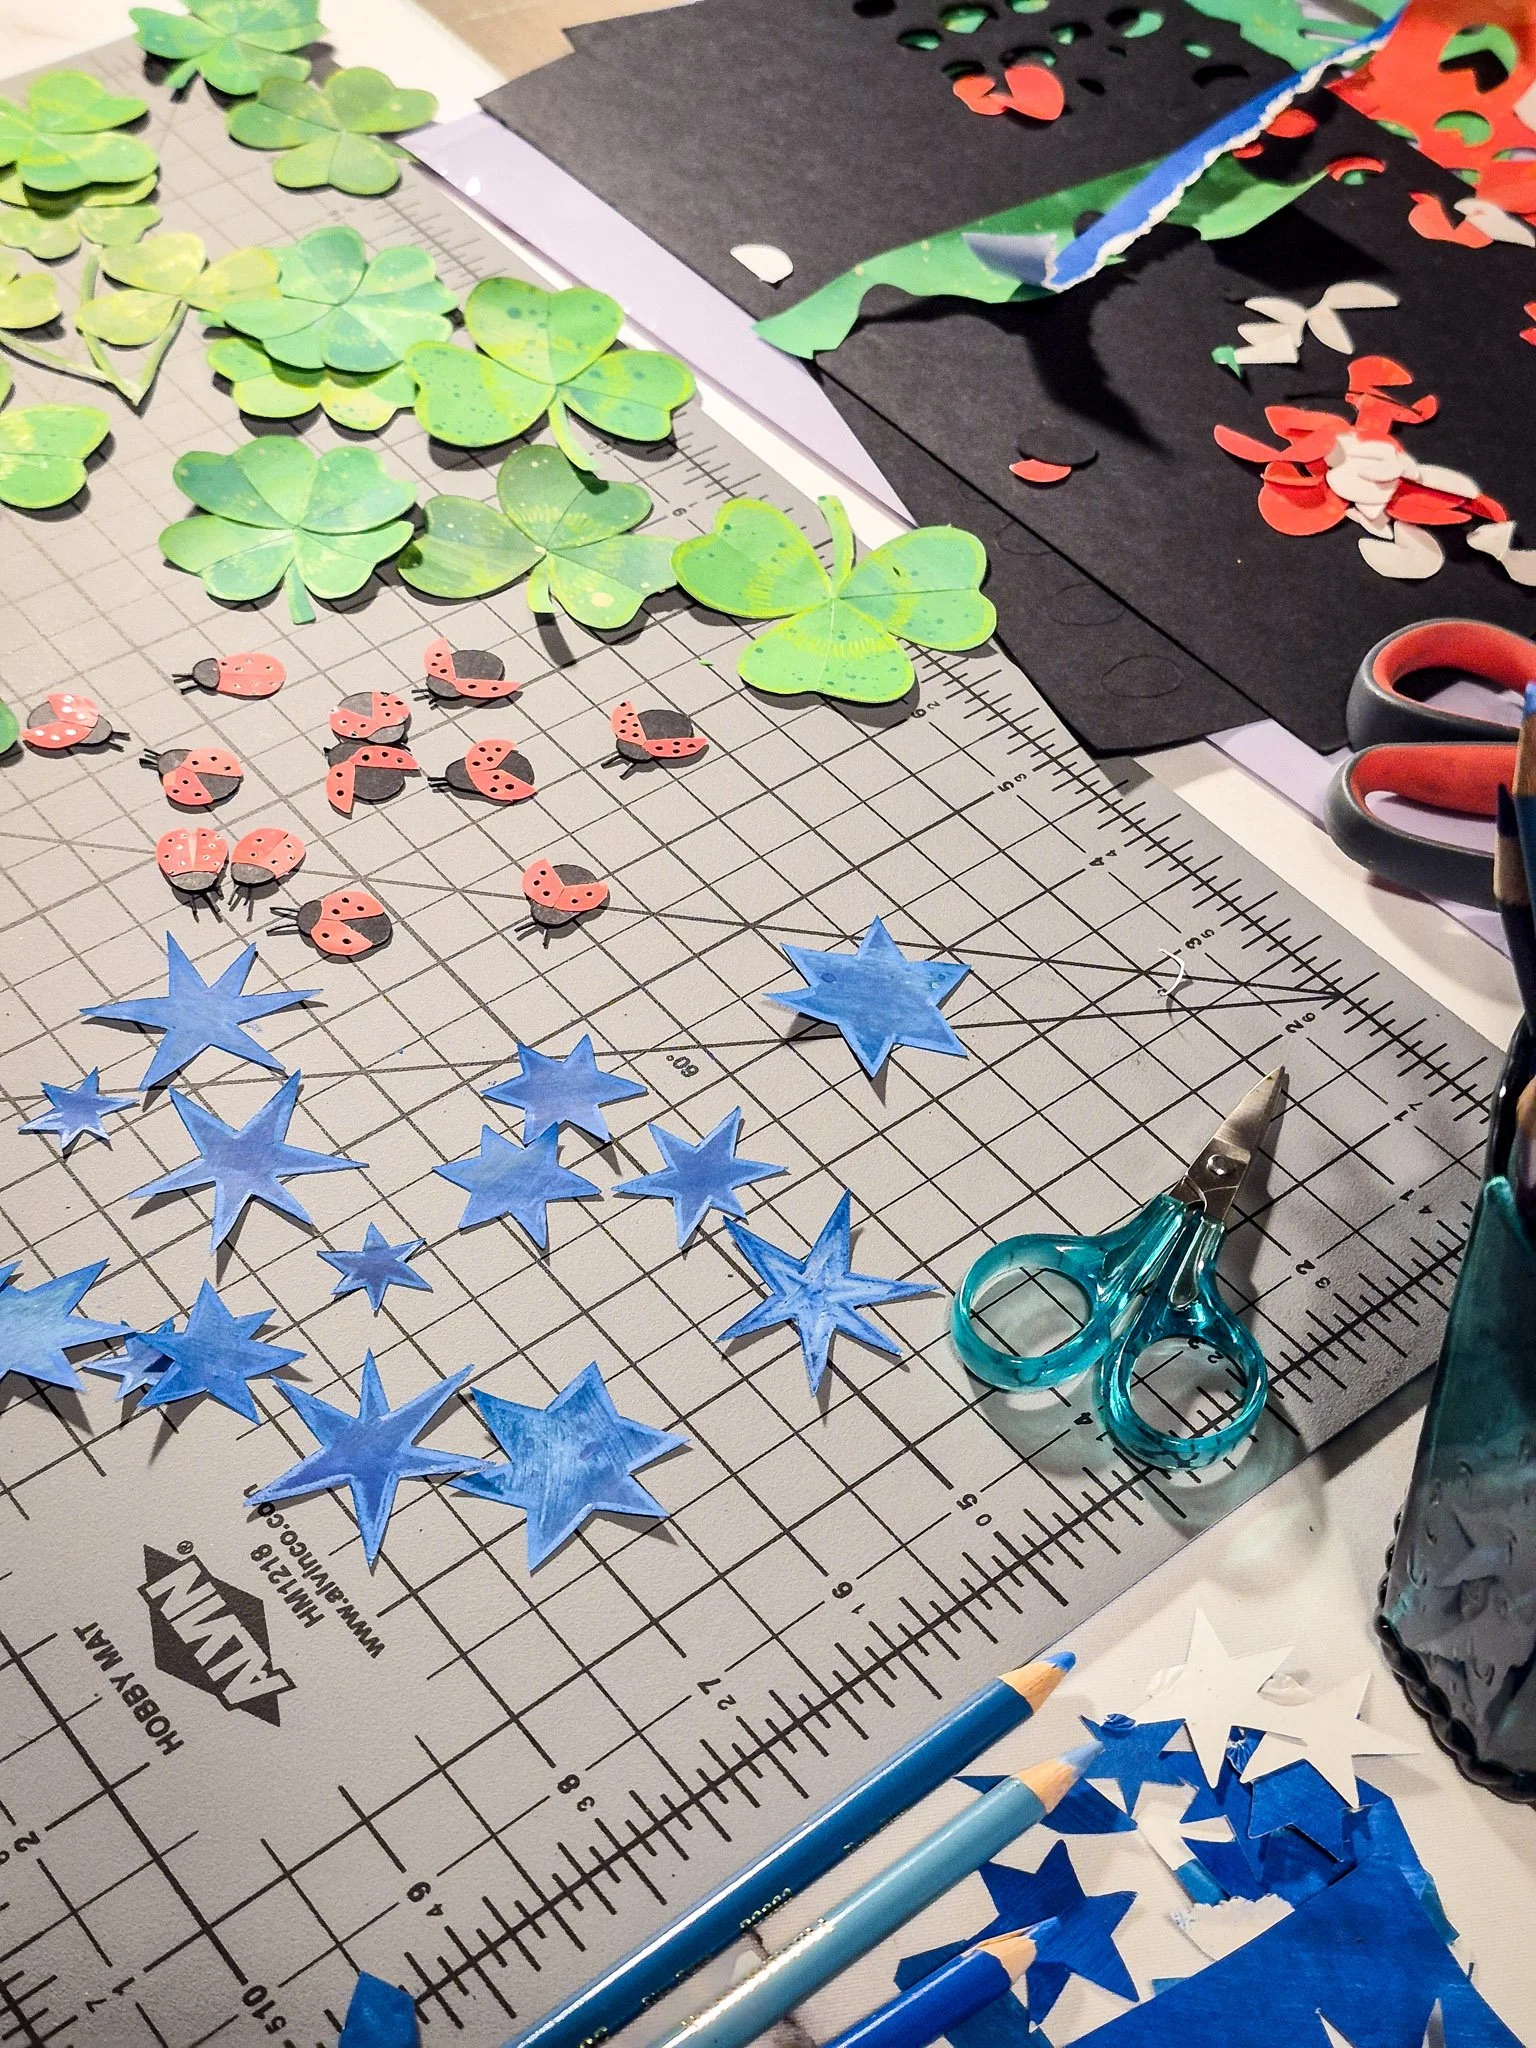
And with that shift, we’ve also watched our little in-house colony of ladybugs move back outside — where they belong! —now scattered throughout the clover, crawling from leaf to leaf.
So it only felt right to let them find their way into this piece too!
Here’s how the pattern came together, from painted paper scraps to a finished repeat pattern:
Step 1: Painting the Papers
Before anything becomes a pattern, it usually starts as a pile of painted paper.
For some projects, I will paint a fresh palette of papers to work with, but most of my collages start with what I already have in my stash.
Lucky for me, these papers were leftovers from a previous illustration, which made this even easier to slip into. No pressure to make something new from scratch every time.
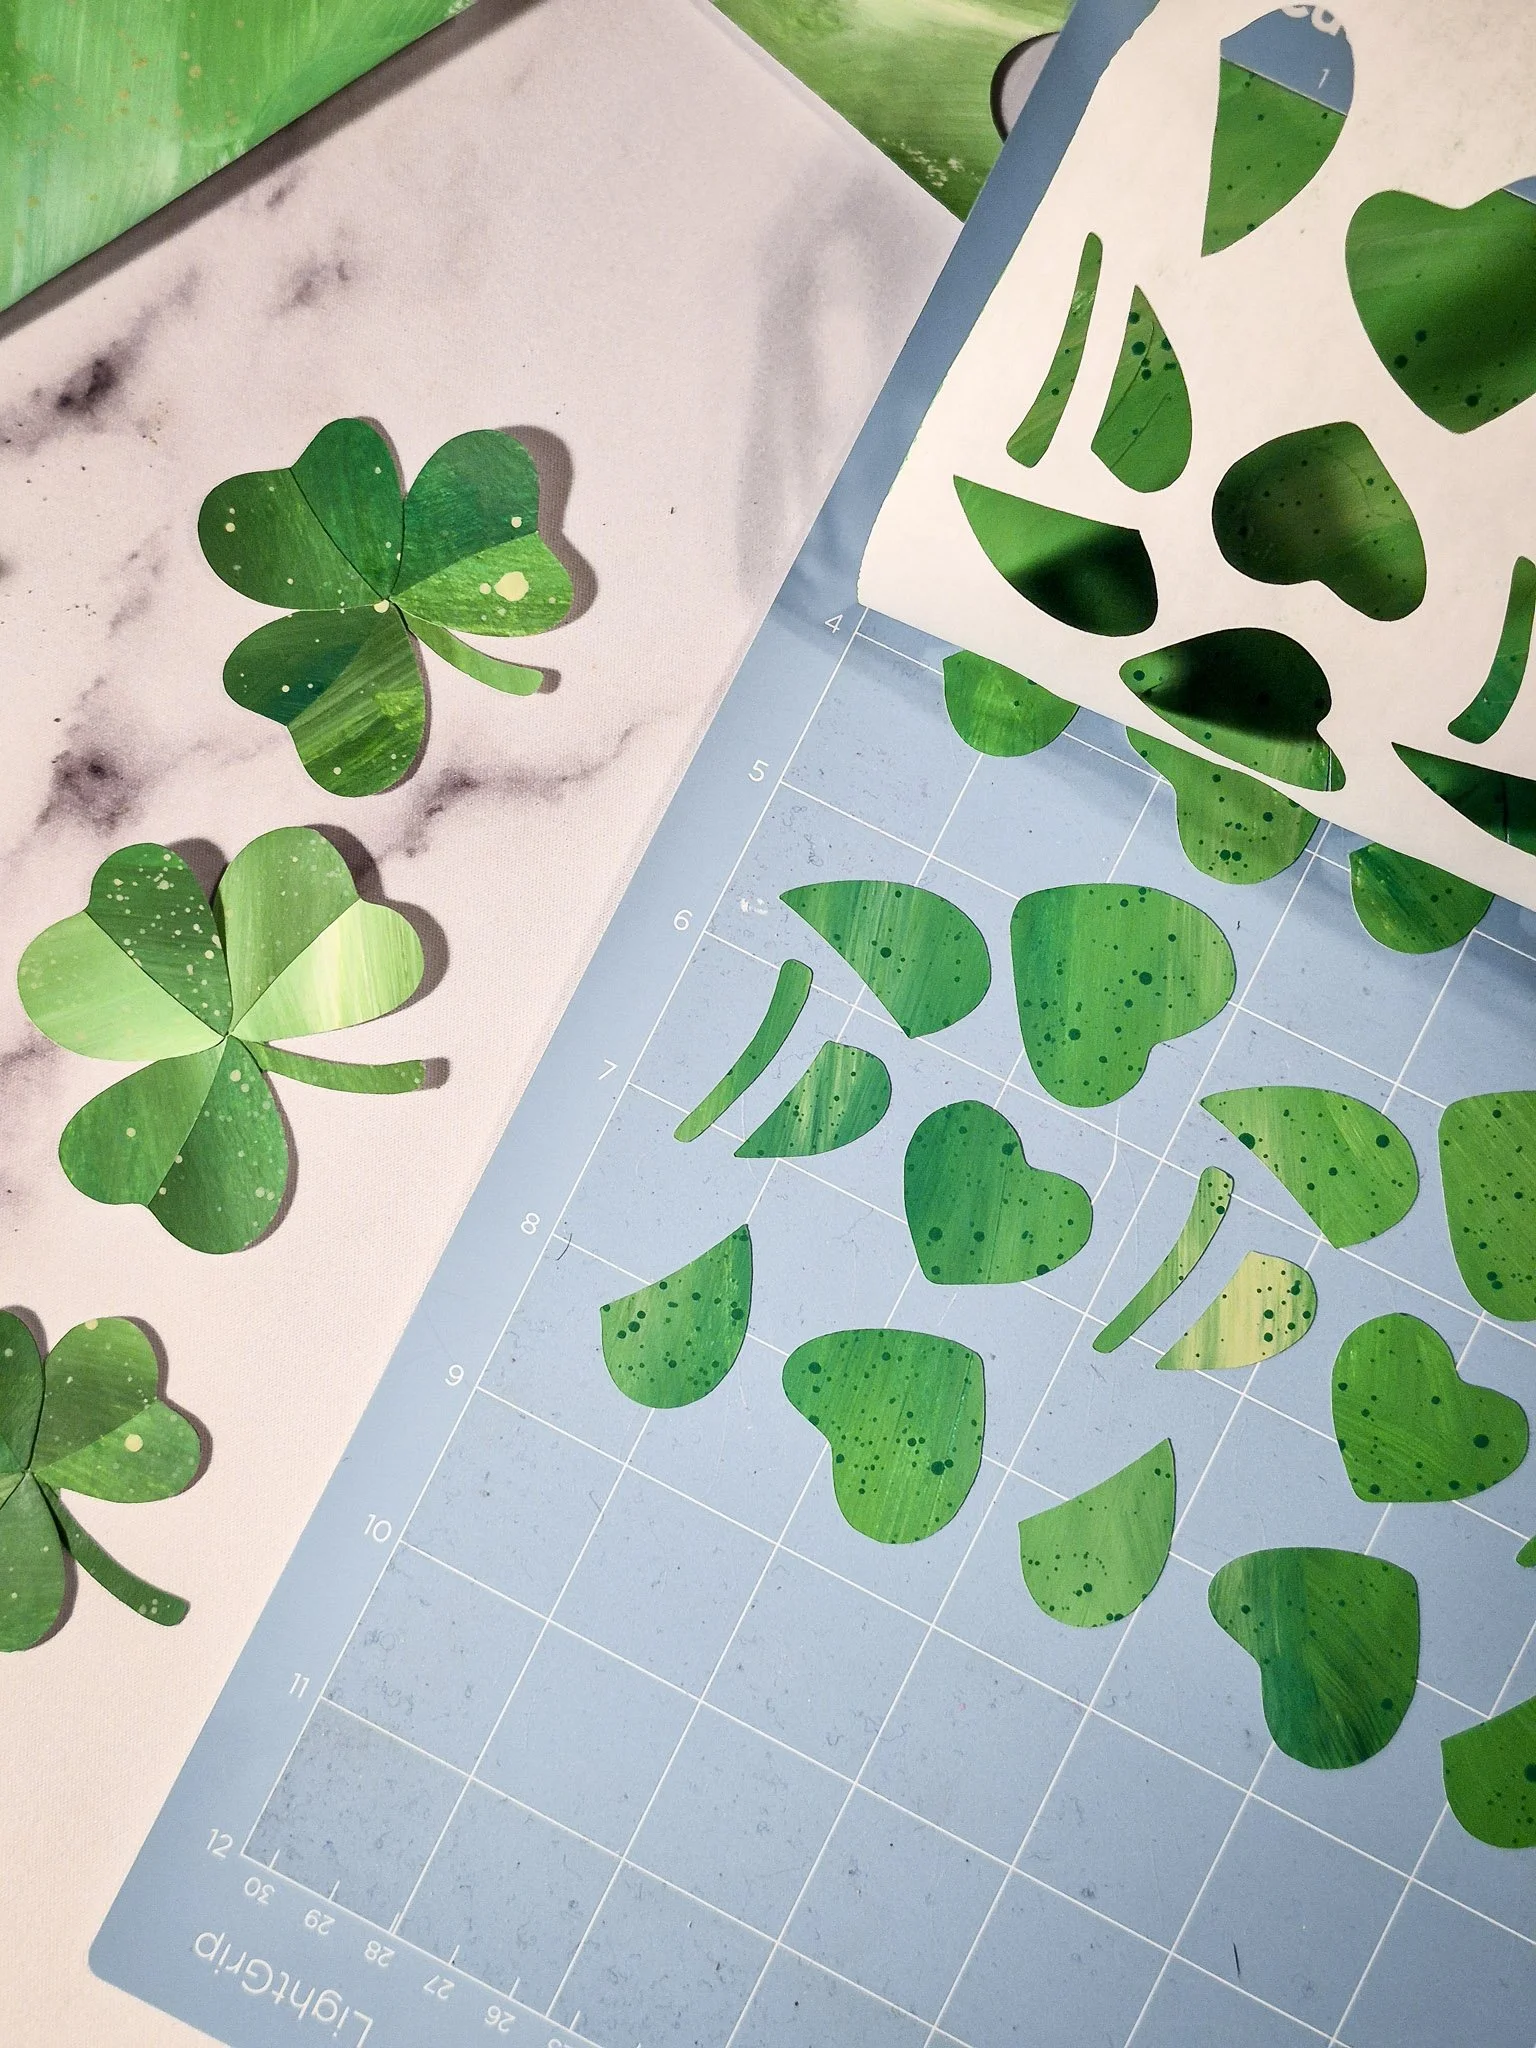
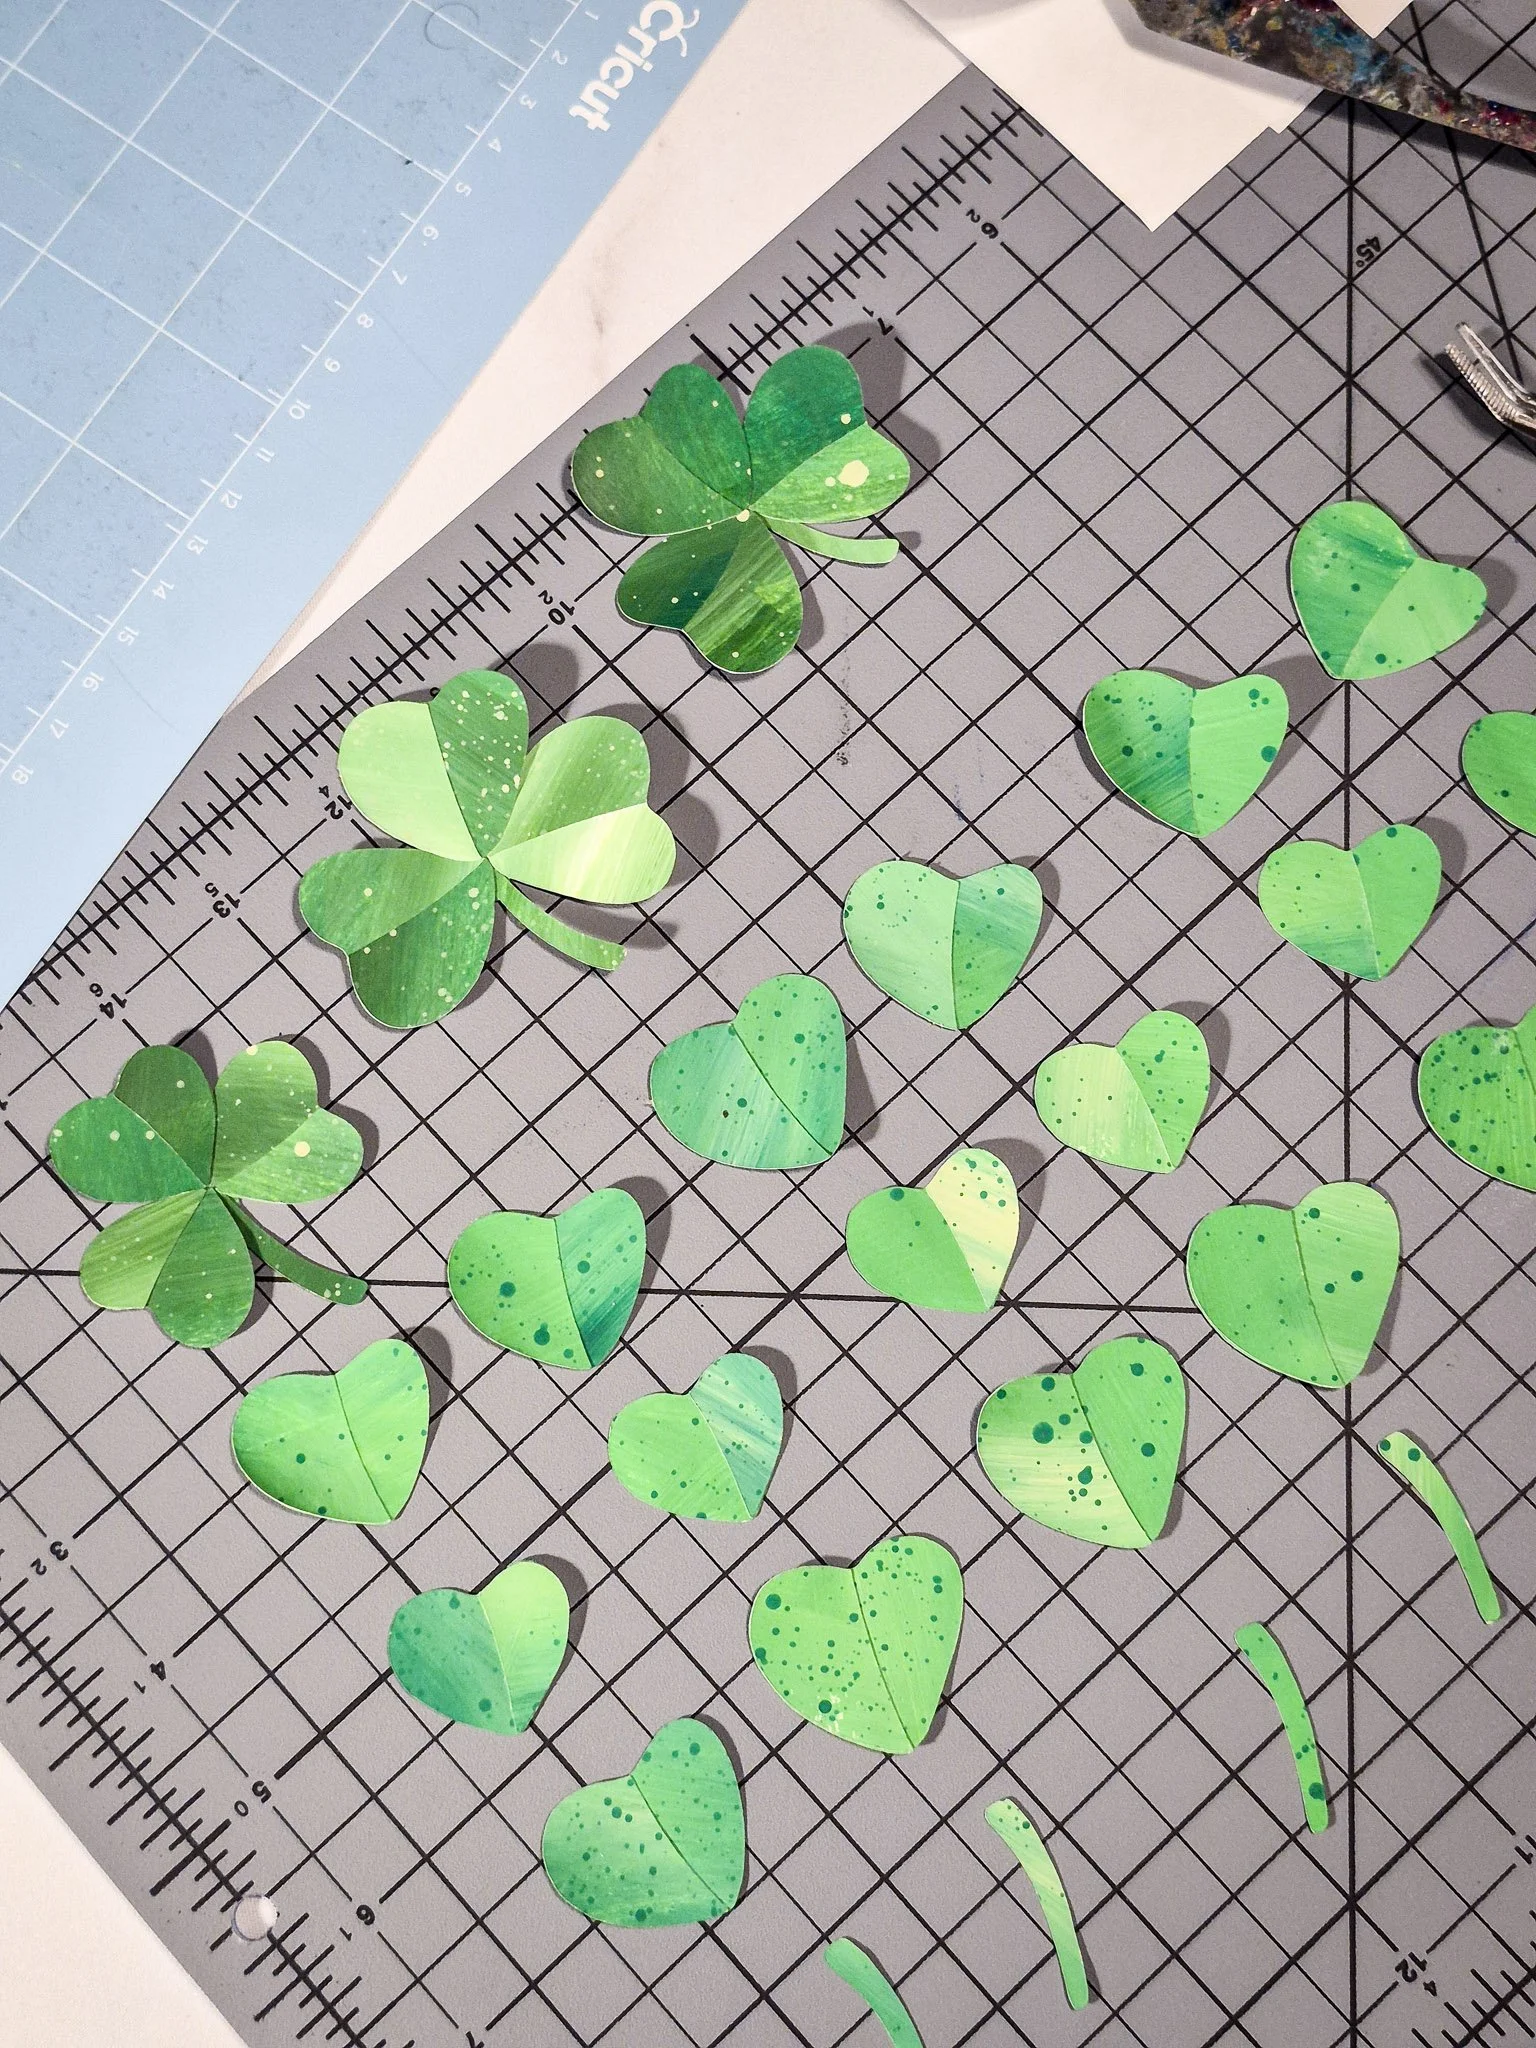
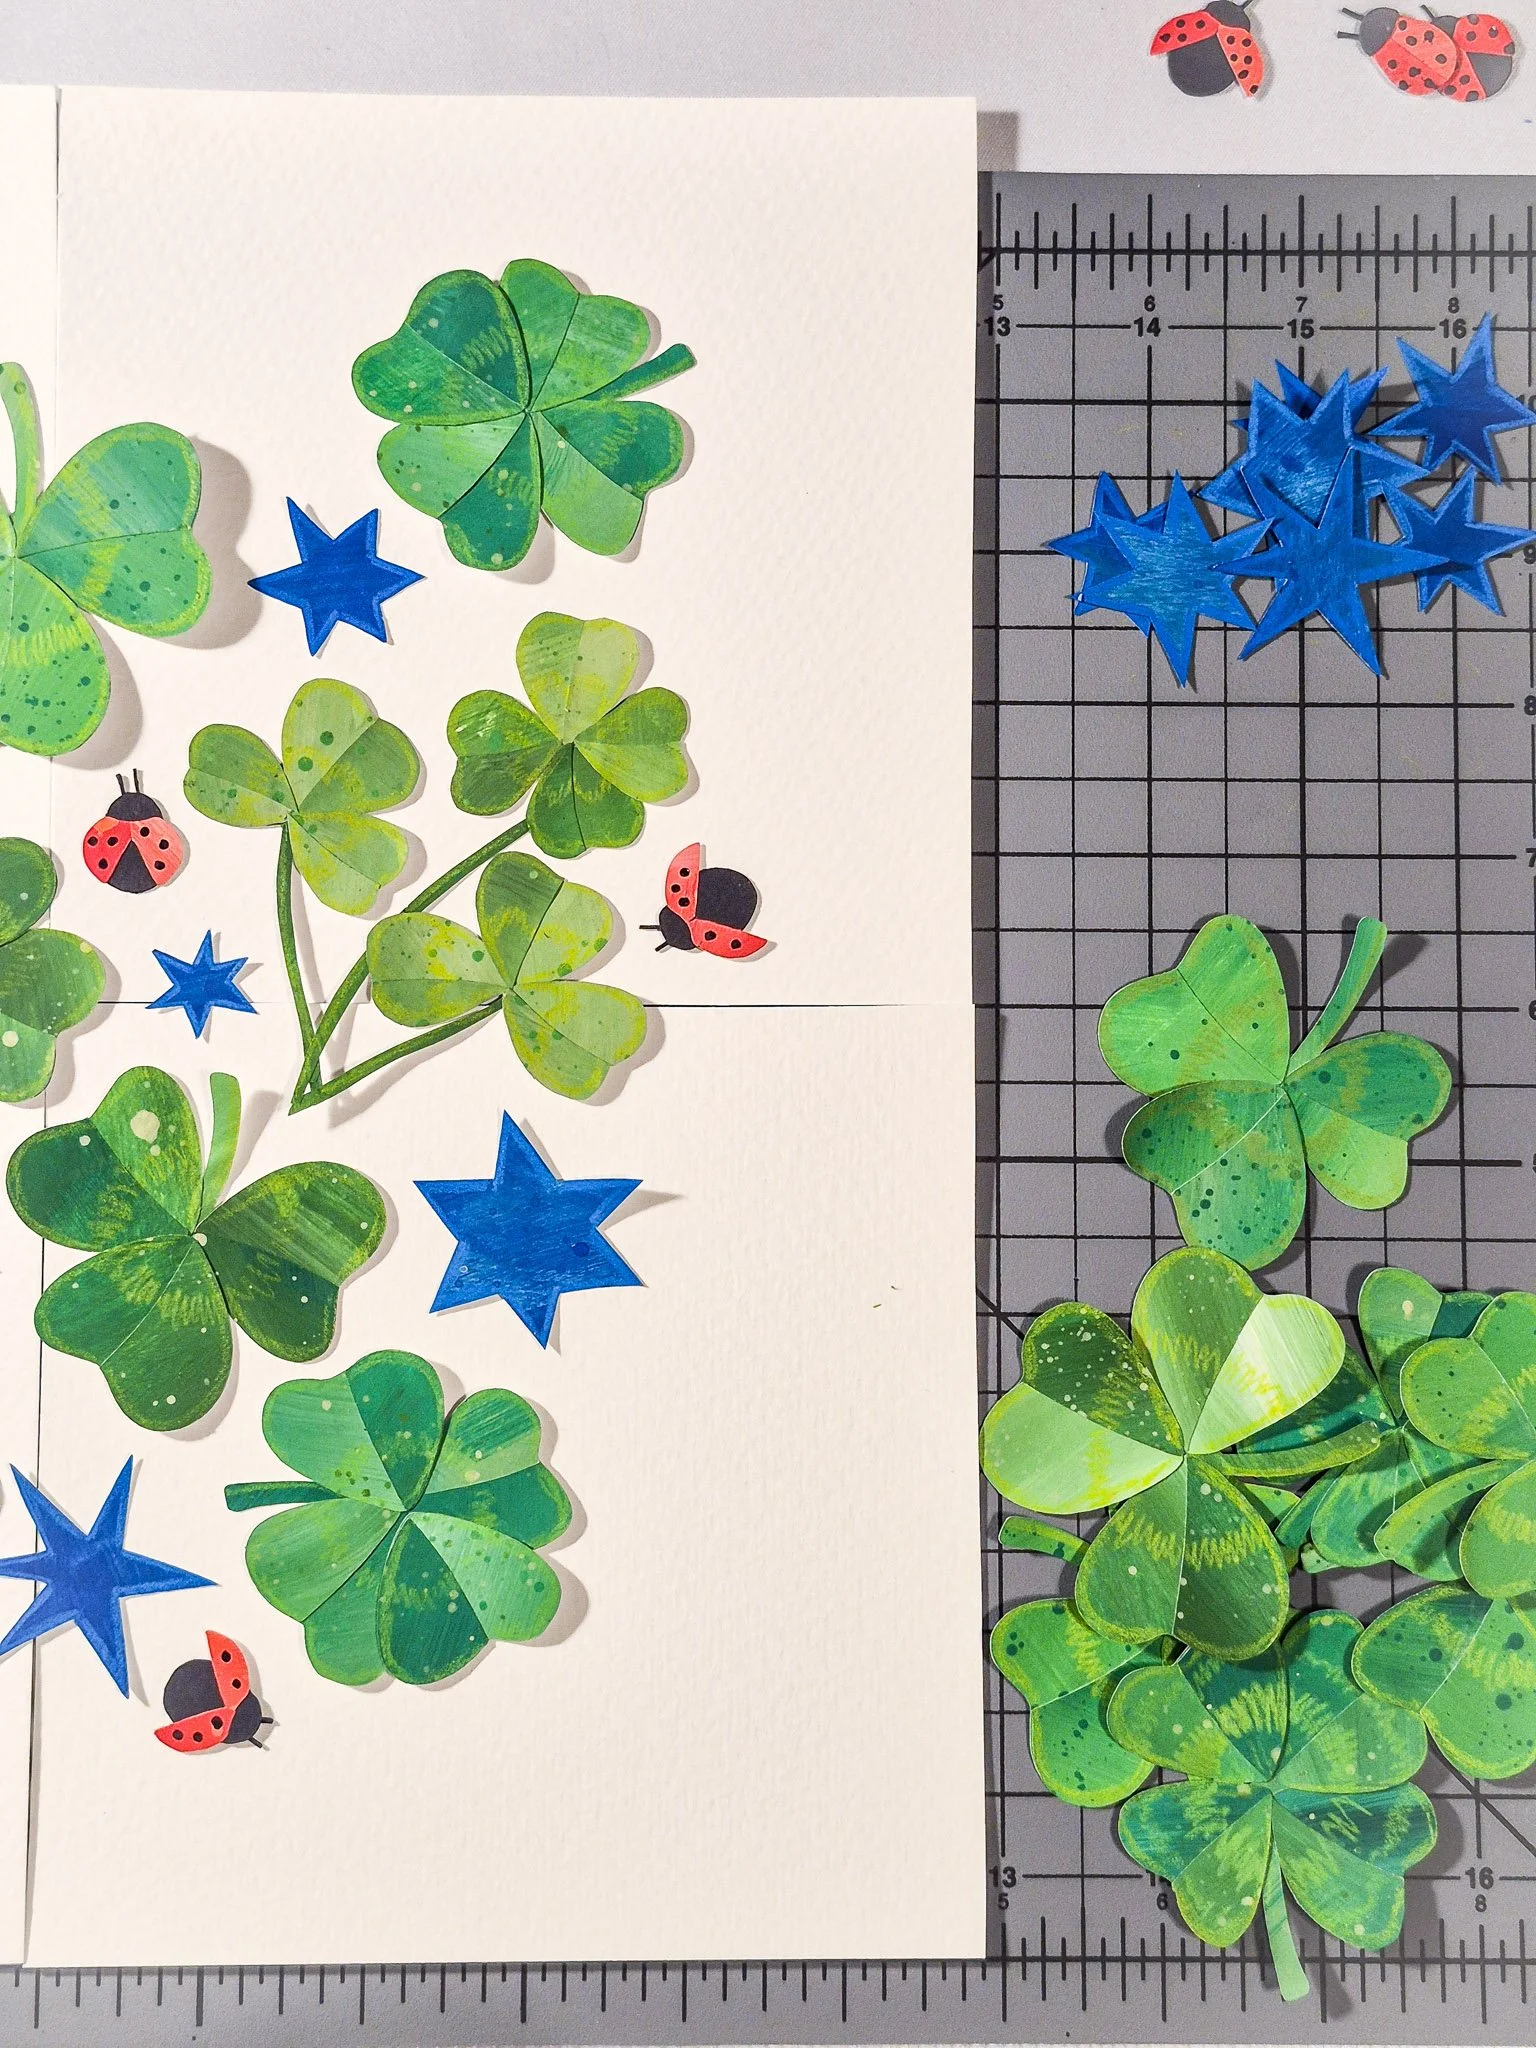
Step 2: Cutting The Shapes
Once I had a small stack of papers to work from, I moved on to cutting out the clover shapes. I used my Cricut machine for this part, which made it easy to repeat the same base shape while letting the painted textures do their own thing.
This is where I let myself stay in that same “don’t think, just make” mindset. But truthfully, the reason I was able to even do that is because I’d already done the thinking ahead of time.
I’d been planning this illustration for a couple of weeks, and at some point, I went ahead and made the cut file so it was ready when I had the time and energy to actually make something.
I tend to work like that a lot.
I have ideas queued up, half-finished steps tucked into pockets of time, because I so rarely get a full, uninterrupted stretch to go all in the way my Aries nature would prefer...
So instead, I build things in layers. Prepping when I can, making when I can, and trusting that it will all come together when there’s enough space.

So when I sat down, there wasn’t much to figure out. Just cutting, arranging, and following the thread.

If you’ve never made a cut file before, there is a little bit of setup involved. It’s basically turning your shape into something the machine can read and repeat.
It’s not complicated once you’ve done it a few times, but it’s a whole mini-process on its own, so I’ll break that out into a separate post.
There’s something really satisfying about this stage—watching a flat sheet of painted paper turn into a little pile of pieces you can actually play with.
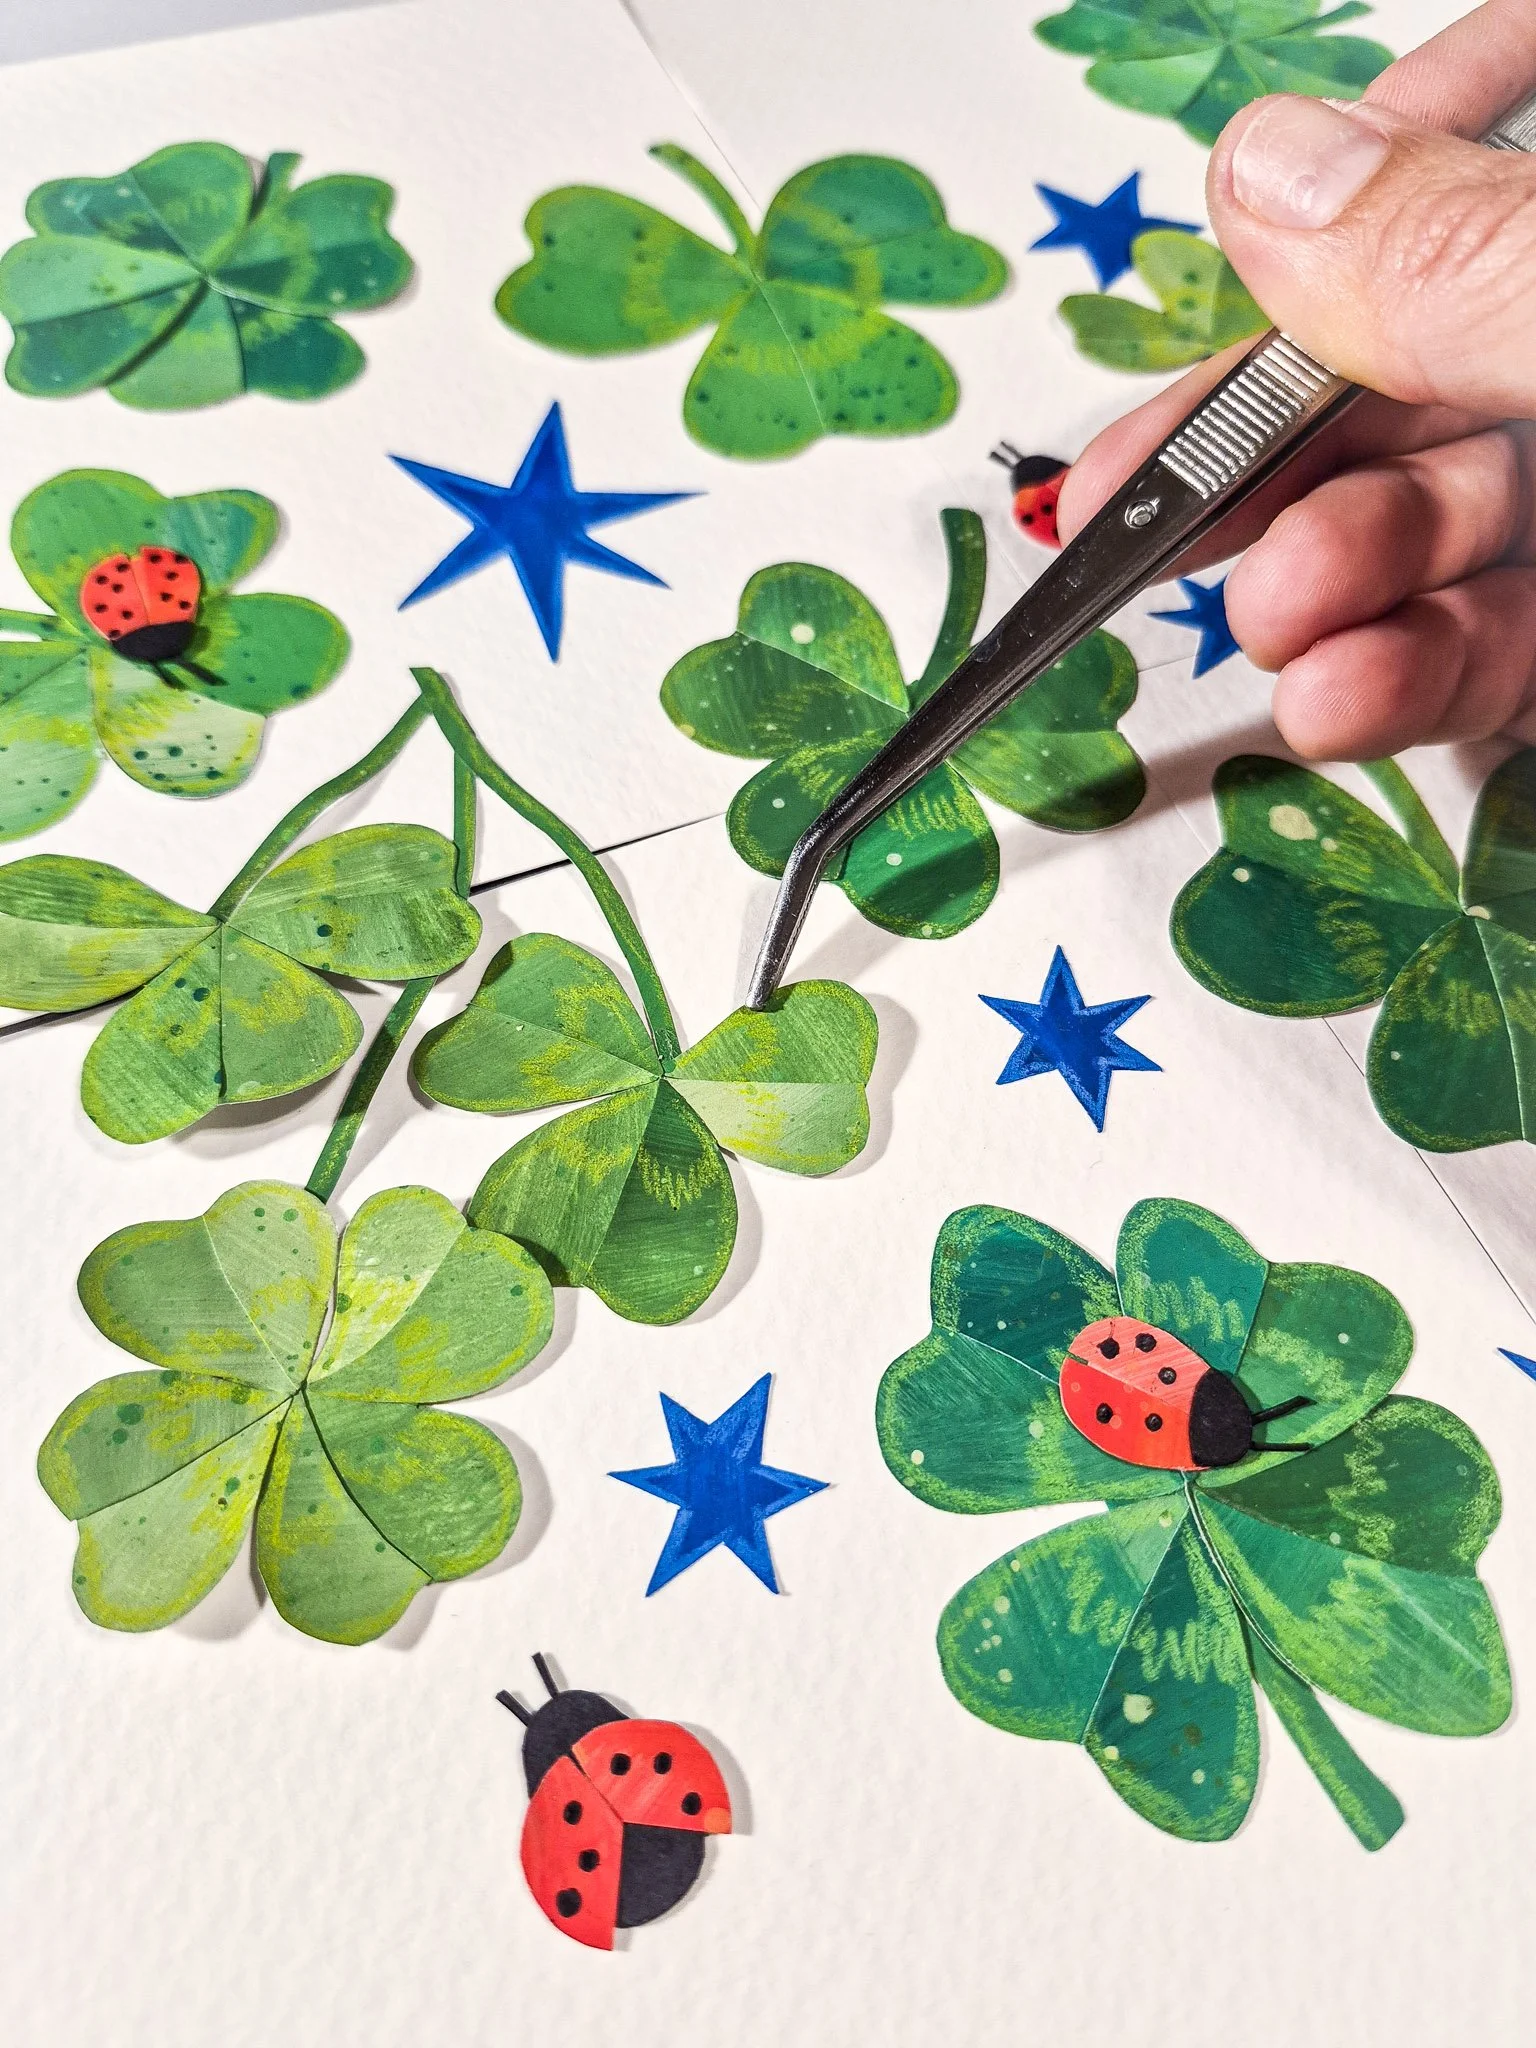
Step 3: Building the Pattern
Once I had my pile of painted paper shapes to work with—and my paper tiles loosely taped down—I started shifting things around, testing spacing, and looking for a rhythm that felt natural.
Unlike my last pattern-building exercise, where I sketched everything out first [like most of the artists I’d seen doing this trend], this time I skipped that step entirely. I just started placing the elements and gluing them as I went.
Once the center area began to fill in, I started swapping the tiles around and continuing into the gaps—always avoiding the edges.
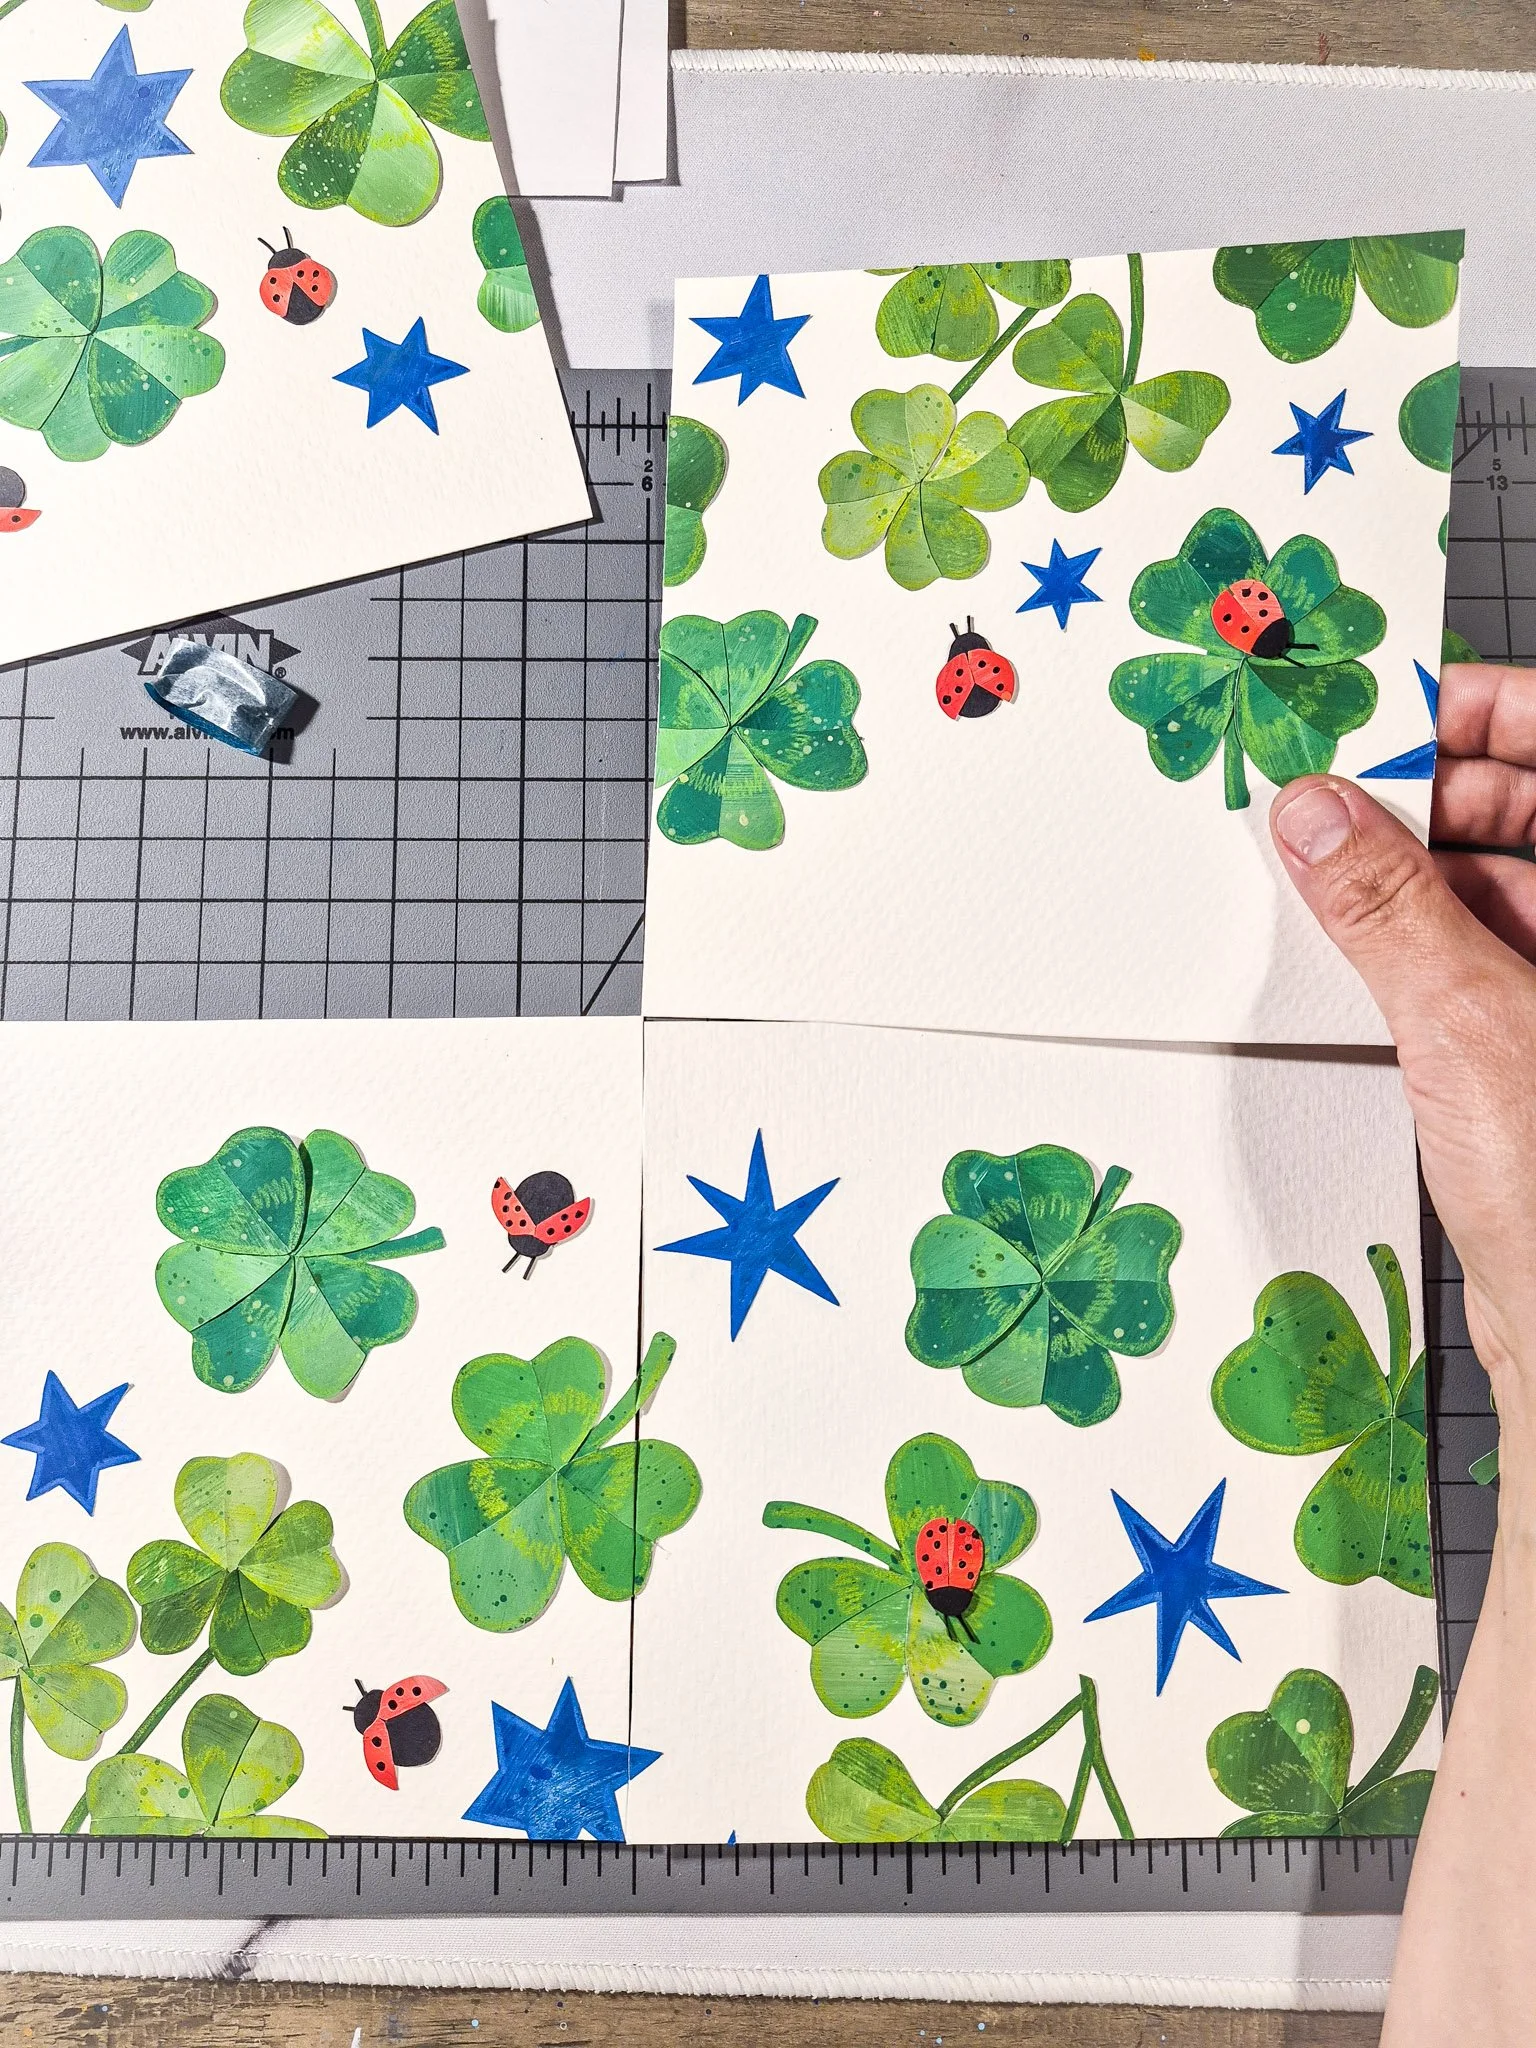
There is one small [but important] step in this process, though, that was certainly different than what I’d seen other artists do…
Because the collage elements are glued down, a lot of them end up crossing over the seams where the tiles meet. So before rearranging anything, I used a craft blade to carefully slice along those seam lines - separating the pieces so the tiles could move independently again.
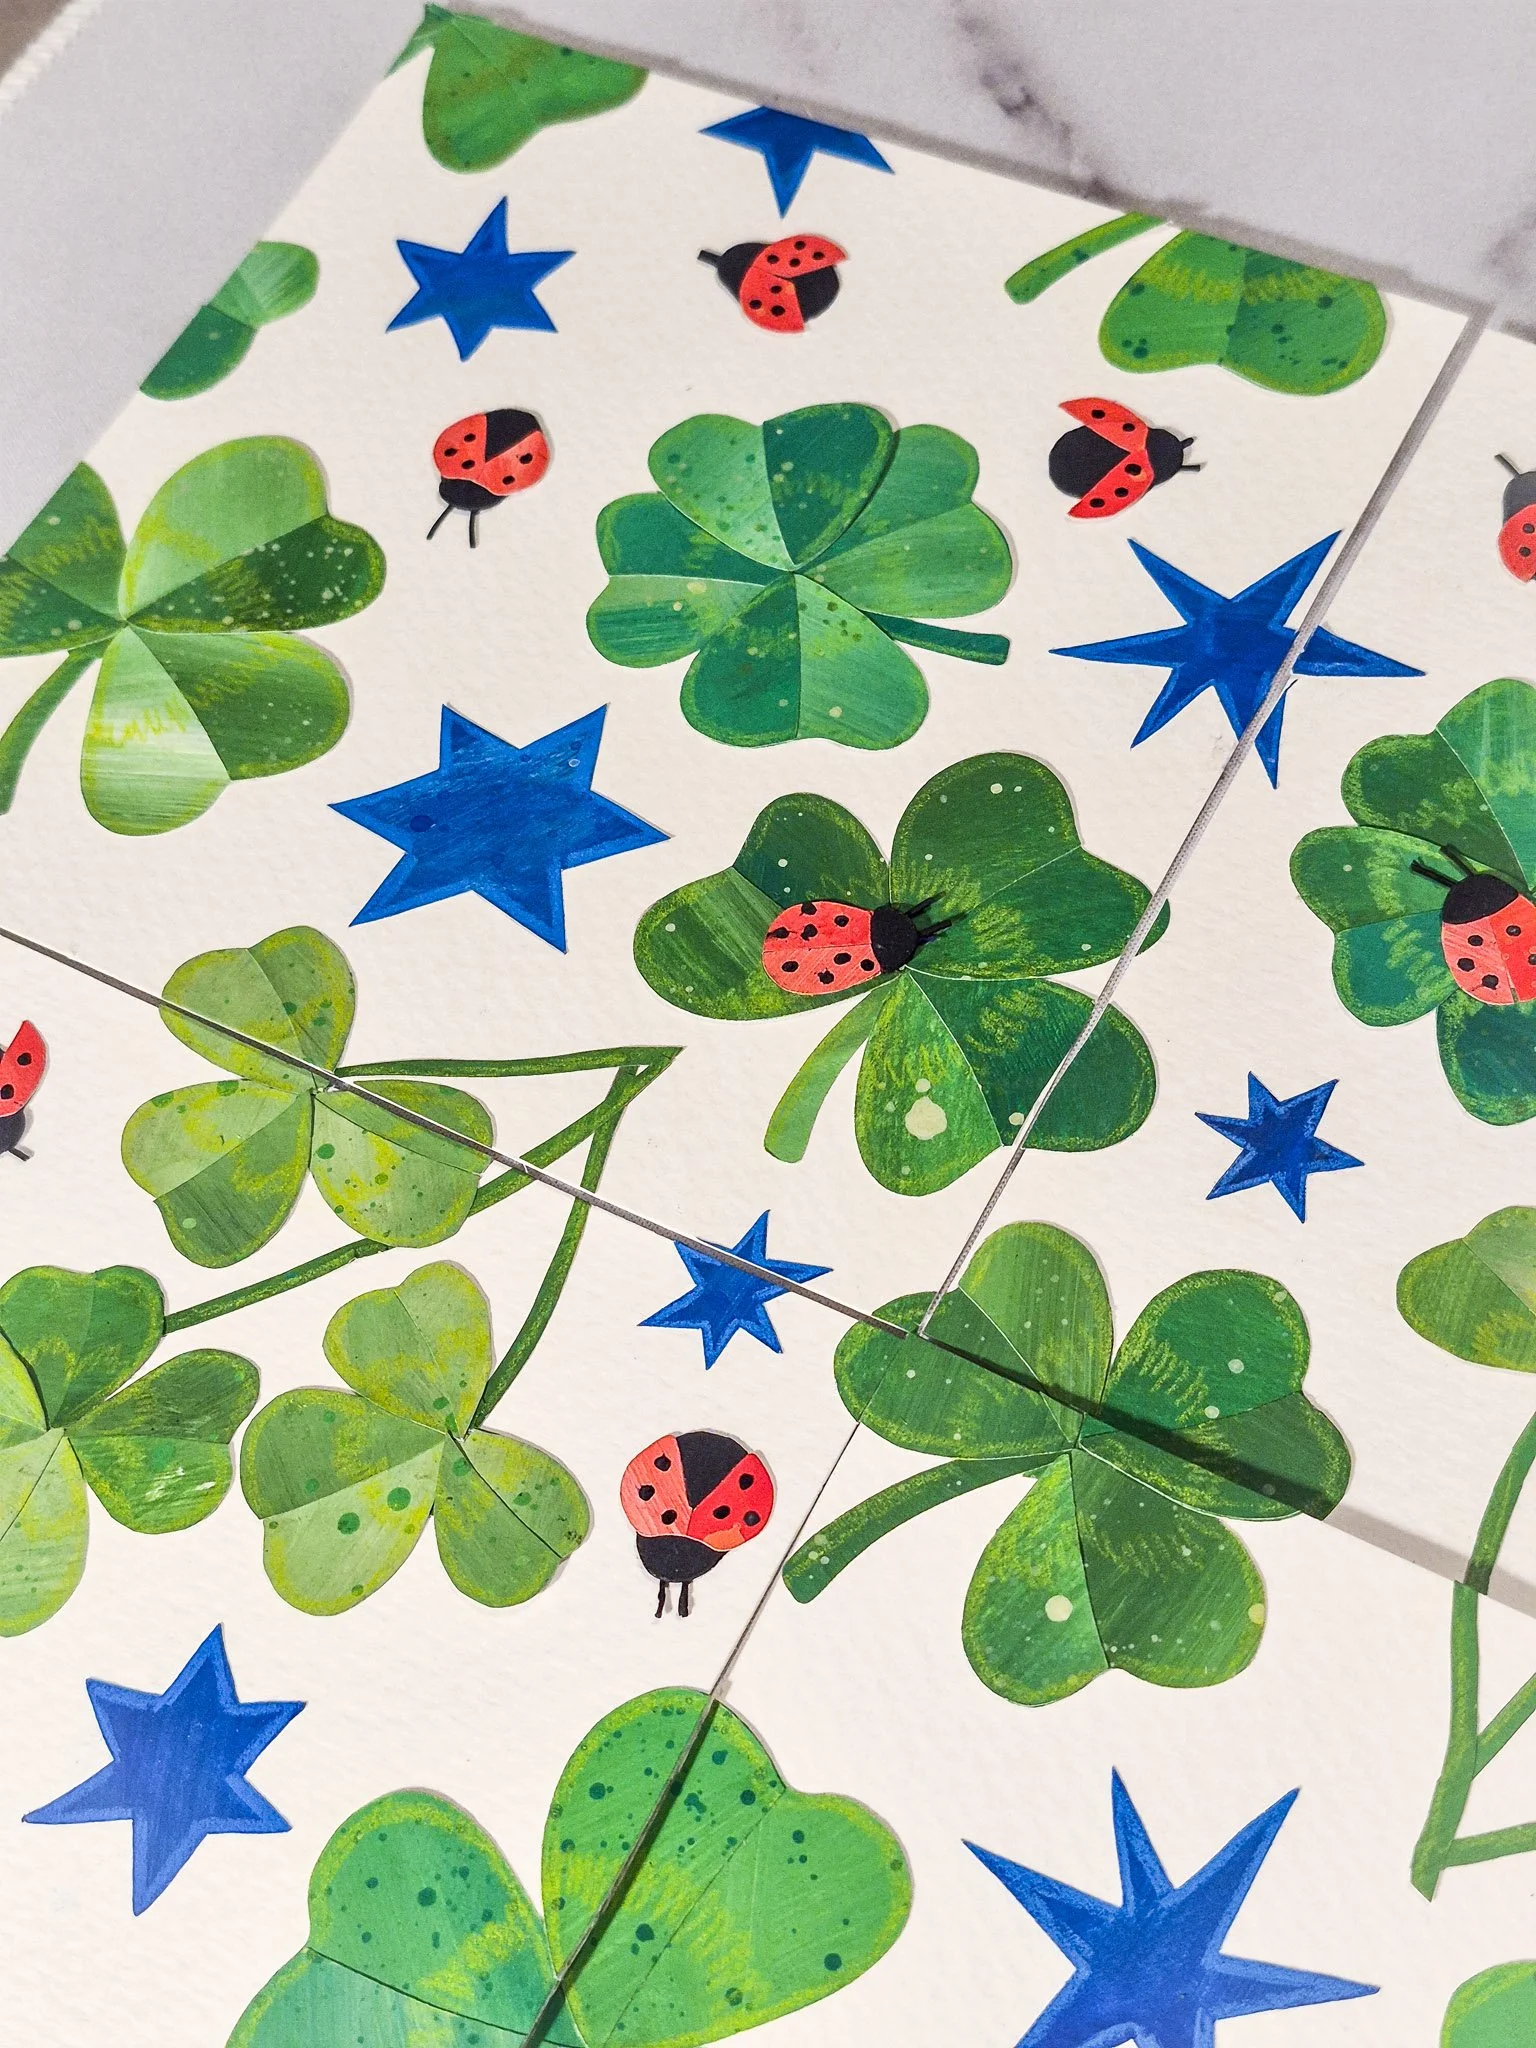
What Comes Next: Digitizing + Stitching
At this point, the pattern exists physically [cut, arranged, and glued], but the next step is turning it into something I can actually use digitally.
Truthfully, that part is still in progress… Hah!
This week has been more about making the tactile, hands-on side of things. But the next step is the digitizing side of things, and that requires a different kind of focus. It’s more technical, a little more precise, and a task I usually save for a separate pocket of time.
I’ll share more of that process once I’m in it, because it’s a whole world of its own.
This week reminded me that I don’t always need to work on multiple things at once, or a perfectly mapped-out plan to feel like I’ve made something meaningful.
Sometimes it’s enough to stay with one idea a little longer than usual. To F O C U S.
To let it unfold slowly. To come back to it in small pockets of time. To build it in layers instead of trying to rush it into something finished all at once.
This process felt simple in the best way. Just cut, arrange, repeat.
And right now, that kind of simplicity feels like exactly what I need.
If you’ve been holding onto a pile of painted papers or half-finished ideas, this might be your sign to come back to one of them…
🎨What’s On My Palette is a studio series where I share the art supplies, creative workflow, and behind-the-scenes of my current illustration projects. Perfect for artists, stationery lovers, and creative entrepreneurs curious about process and materials.
If you want to see more, check it out here: What’s On My Palette